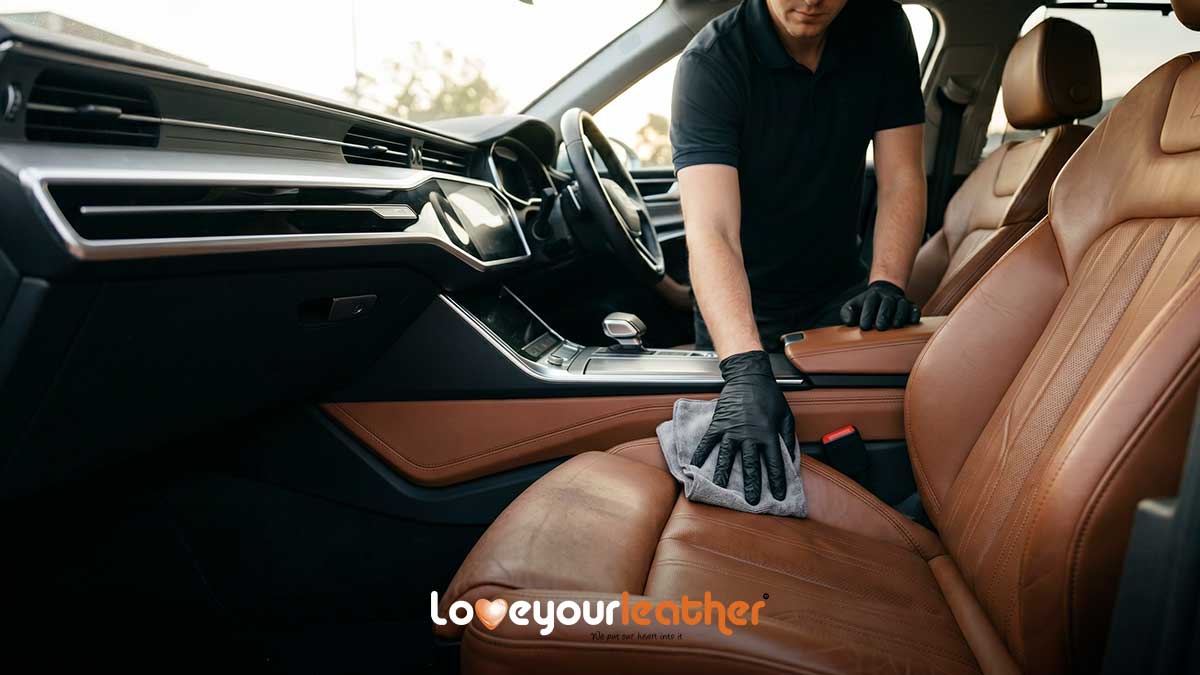
Leather seats look sharp when they are clean, but they need a careful hand. Most automotive leather has a pigmented surface and a clear protective coating, so leather car seat cleaning should lift dirt from the finish without soaking the material underneath. Canadian weather adds salt, slush, dry winter air, and hot summer cabins to the problem.
Learning the proper way to clean leather car seats starts with the right tools, light moisture, and patience. Skip harsh household products. A gentle routine protects the coating, keeps the seats flexible, and helps the interior age well with fewer cracks, stains, and worn spots.
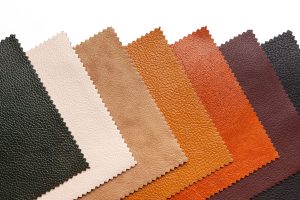
Identify Your Leather Before Cleaning

Before you clean leather car seats, test the surface in a hidden area. Place one small drop of water on the seat. If it beads on top, the seat is likely coated leather or synthetic material. If it absorbs quickly, it may be uncoated aniline leather, which needs specialist care.
Most modern vehicles use coated leather. That coating gives the seat some protection, but it can still be scratched by grit or weakened by chemicals. PVC can become brittle in cold weather, while polyurethane may soften in extreme heat. A quick test helps you choose the safest method, especially if you are unsure whether the seats are genuine leather or faux leather.
Tools For Leather Car Seat Cleaning
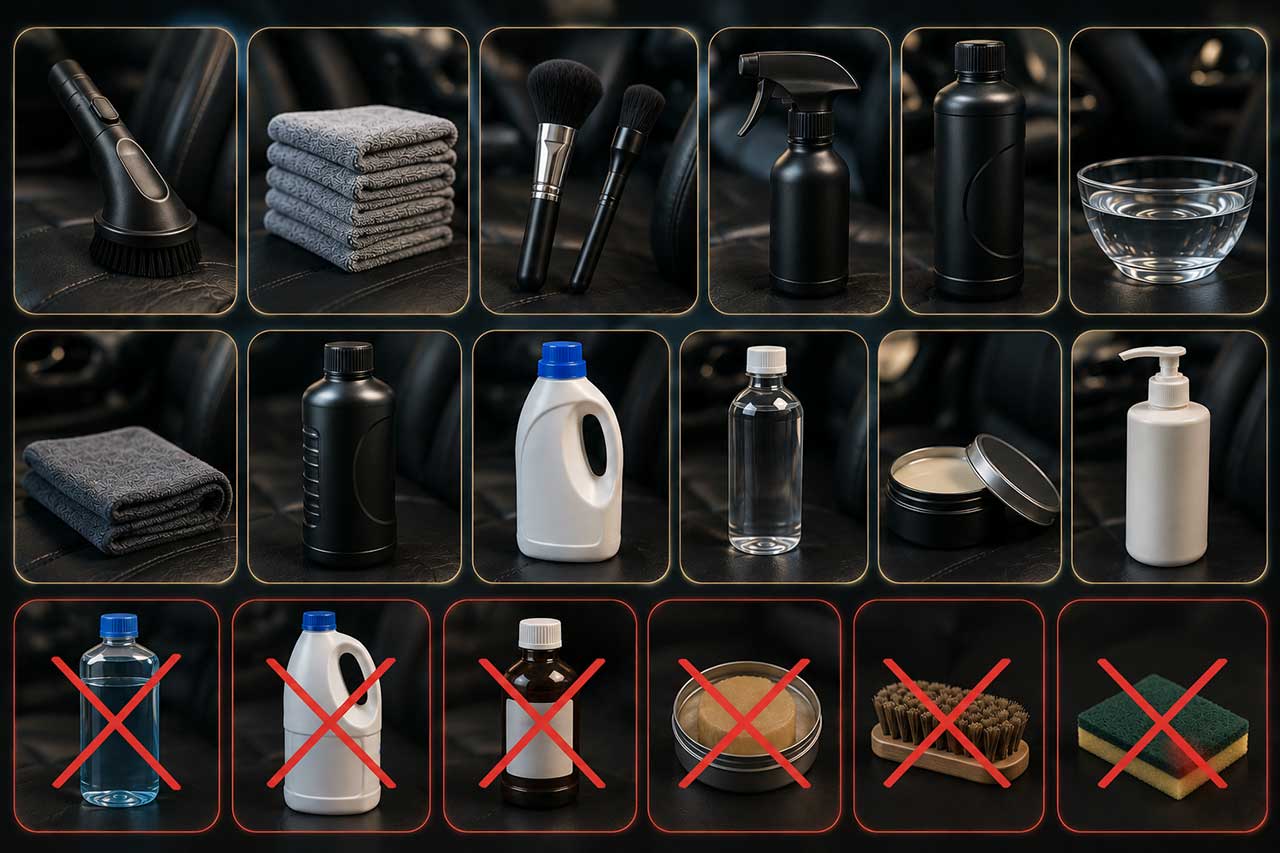
Gather your supplies before starting.
| Tool | Use |
| Vacuum With Soft Brush Attachment | Removes grit from seams and surfaces |
| Microfiber Cloths | Applies cleaner and wipes residue |
| Soft Makeup Brush Or Detailing Brush | Lifts dirt from textured grain |
| pH Balanced Leather Seat Cleaner For Cars | Cleans without harsh alkalinity |
| Warm Water | Rinses cleaner residue |
| Dry Microfiber Towel | Removes moisture after cleaning |
| Leather Conditioner | Maintains genuine coated leather |
Avoid ammonia, bleach, peroxide, saddle soap, bar soap, stiff brushes, and abrasive pads. Leather is naturally acidic. Strong alkaline cleaners can strip tanning agents, harden fibres, and leave the surface more likely to crack.
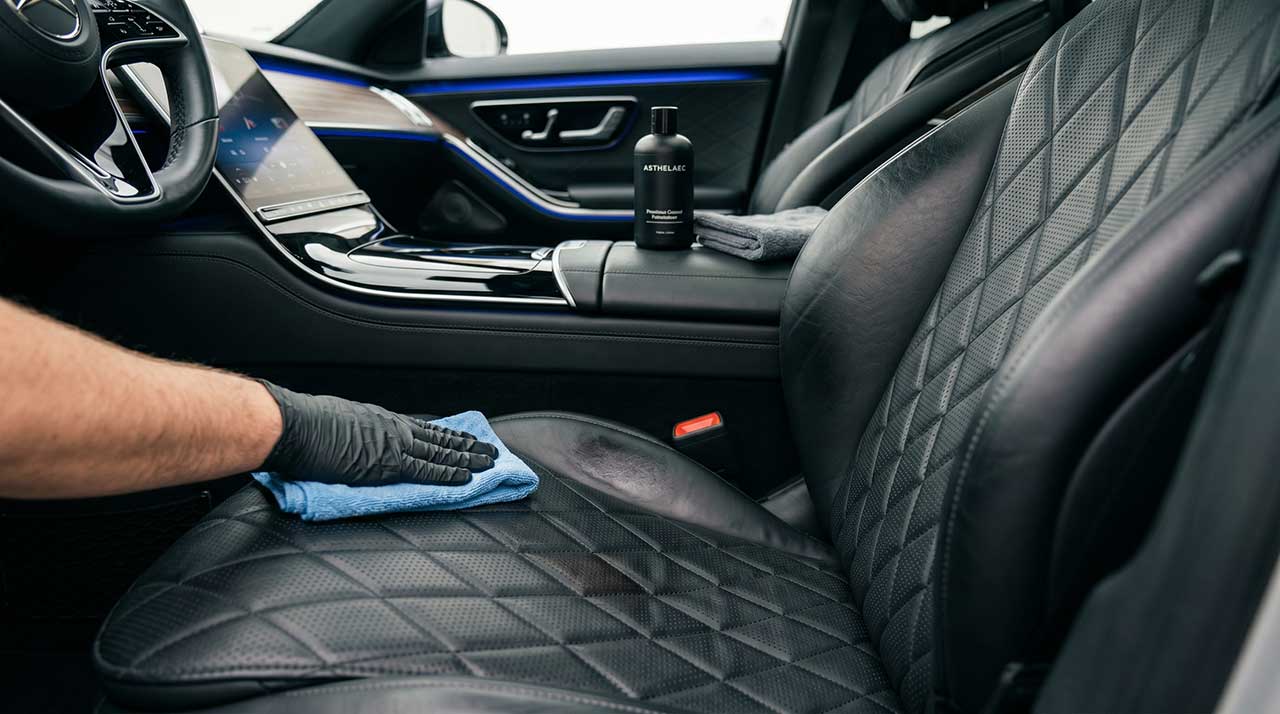
The Best Way To Clean Leather Car Seats
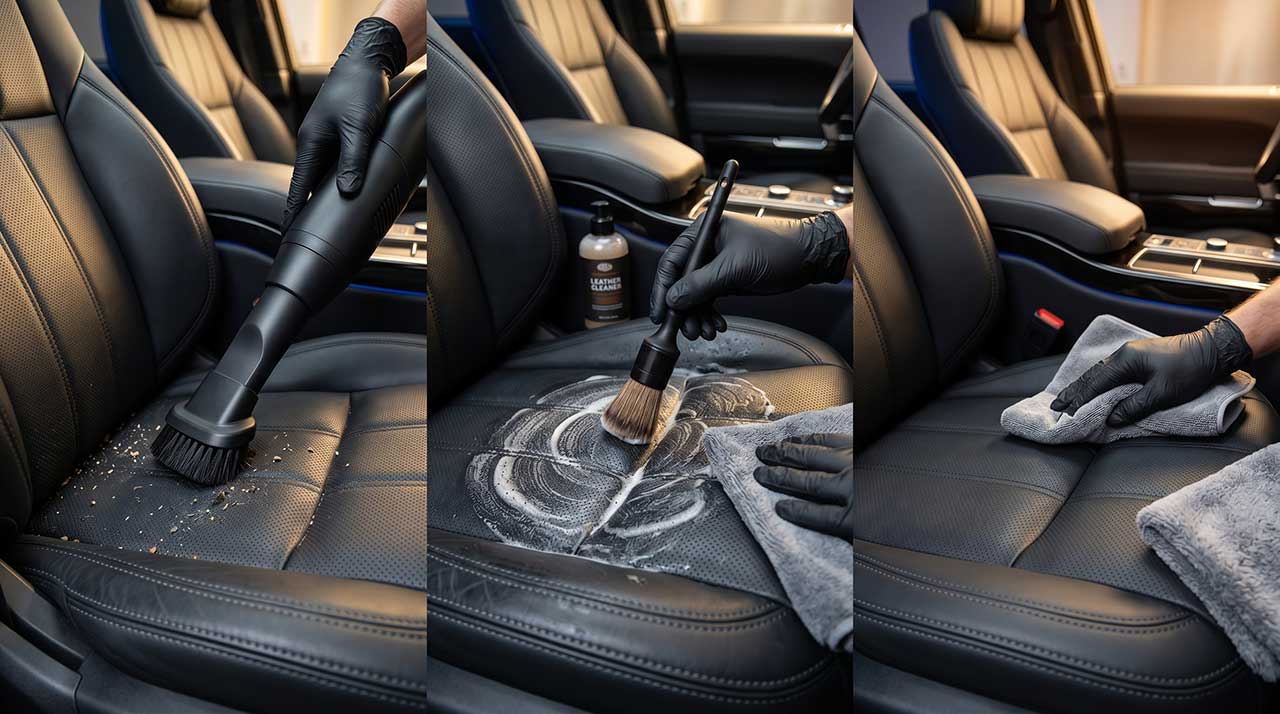
It all begins with dry soil removal. Vacuum seams, bolsters, perforations, and the narrow space where the seat back meets the cushion. Dirt grains act like sandpaper across the surface.
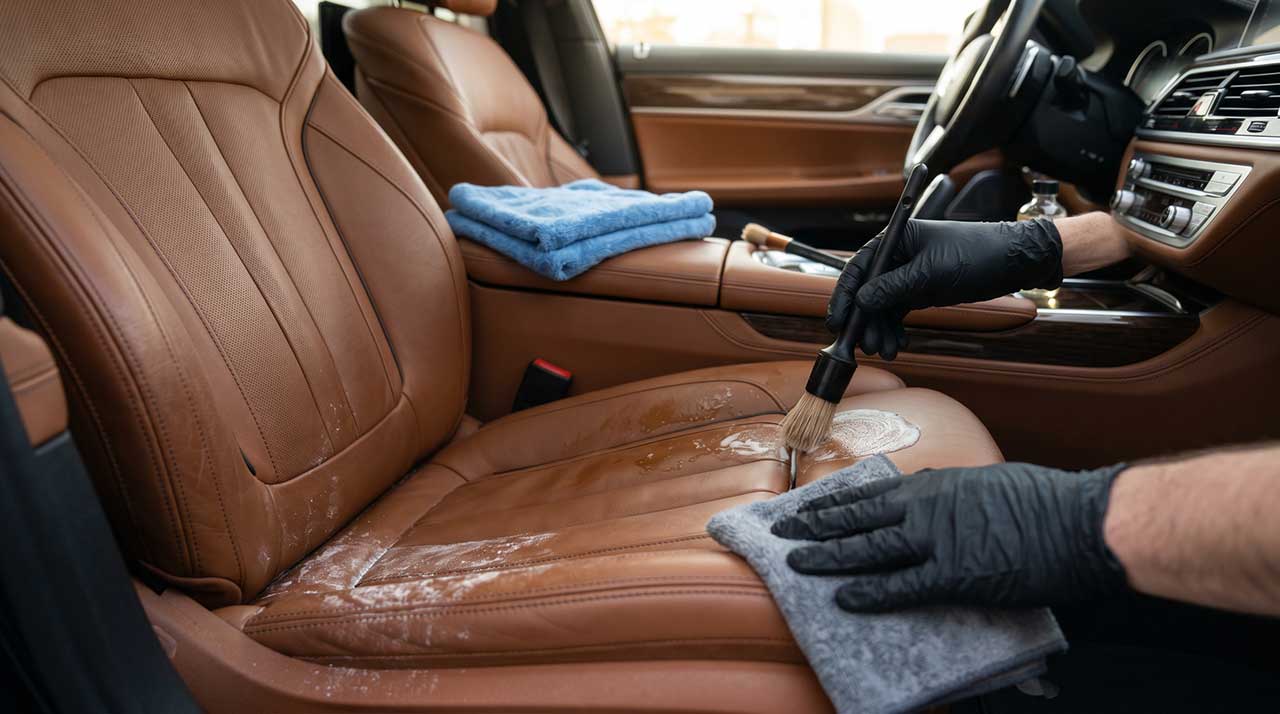
Apply cleaner to a cloth or soft brush, never straight onto the leather. Work the product gently into the grain using small circles. A light foam helps suspend oils, sweat, road dust, and salt particles, so they lift cleanly.
Wipe the area with a well-wrung microfiber cloth dampened with warm water. Rinse the cloth often. Follow with a dry towel, then move to the next section. Use light passes.
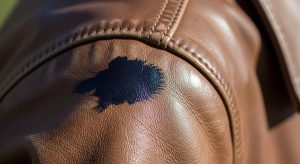
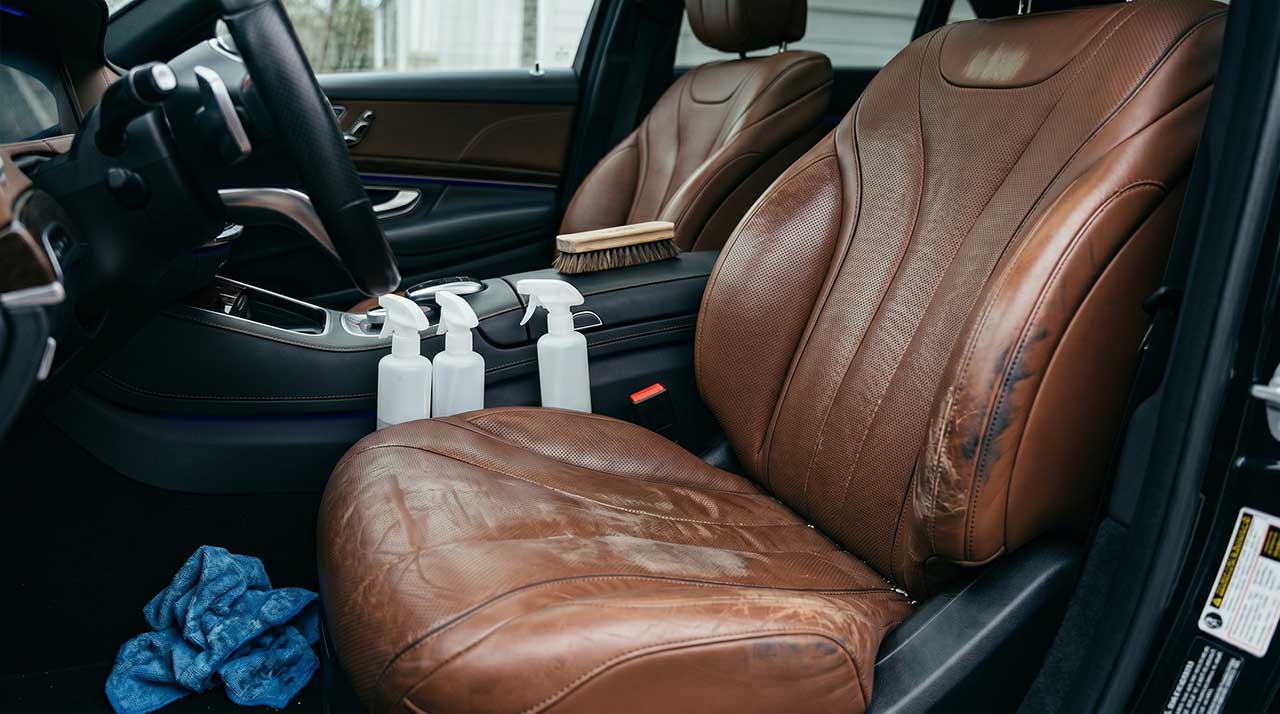
Stain And Salt Cleaning Guide
Road salt needs fast attention because it dries into pale crusts and can pull moisture from the surface. Food and body oils need different treatment.
| Problem | What To Use | How To Clean It |
| Road Salt | Equal parts white vinegar and warm water | Dab lightly, wipe with clean water, then dry |
| Body Oils | pH-balanced leather cleaner | Foam gently, wipe residue, then towel dry |
| Food Or Drink | Warm water with mild detergent and a trace of vinegar | Blot first, clean lightly, rinse with a damp cloth |
| Mould | Professional help for heavy growth | Isolate the area and avoid spreading spores |
Health Canada’s moisture and mould guidance states that controlling dampness helps reduce mould growth in indoor environments.1 The Canadian Conservation Institute leather mould guidance also describes protective equipment and careful vacuuming when mould is present on leather.2
DIY Leather Car Seat Cleaning Mistakes To Avoid
DIY methods are safe when moisture and friction stay controlled. Damage often comes from aggressive cleaning.
- Do not scrub visible grime with force.
- Do not soak seams, stitching, or perforated panels.
- Do not use bleach, ammonia, or peroxide on stains.
- Do not leave cleaner residue on the surface.
- Do not apply conditioner to dirty or damp leather.
If a stain does not lift with gentle cleaning, stop. Dark denim dye transfer, peeling synthetic coatings, deep cracks, and severe salt deposits often need professional care. When grime affects fabric, trim, and seat surfaces together, professional upholstery cleaning can be a safer option for the whole interior.
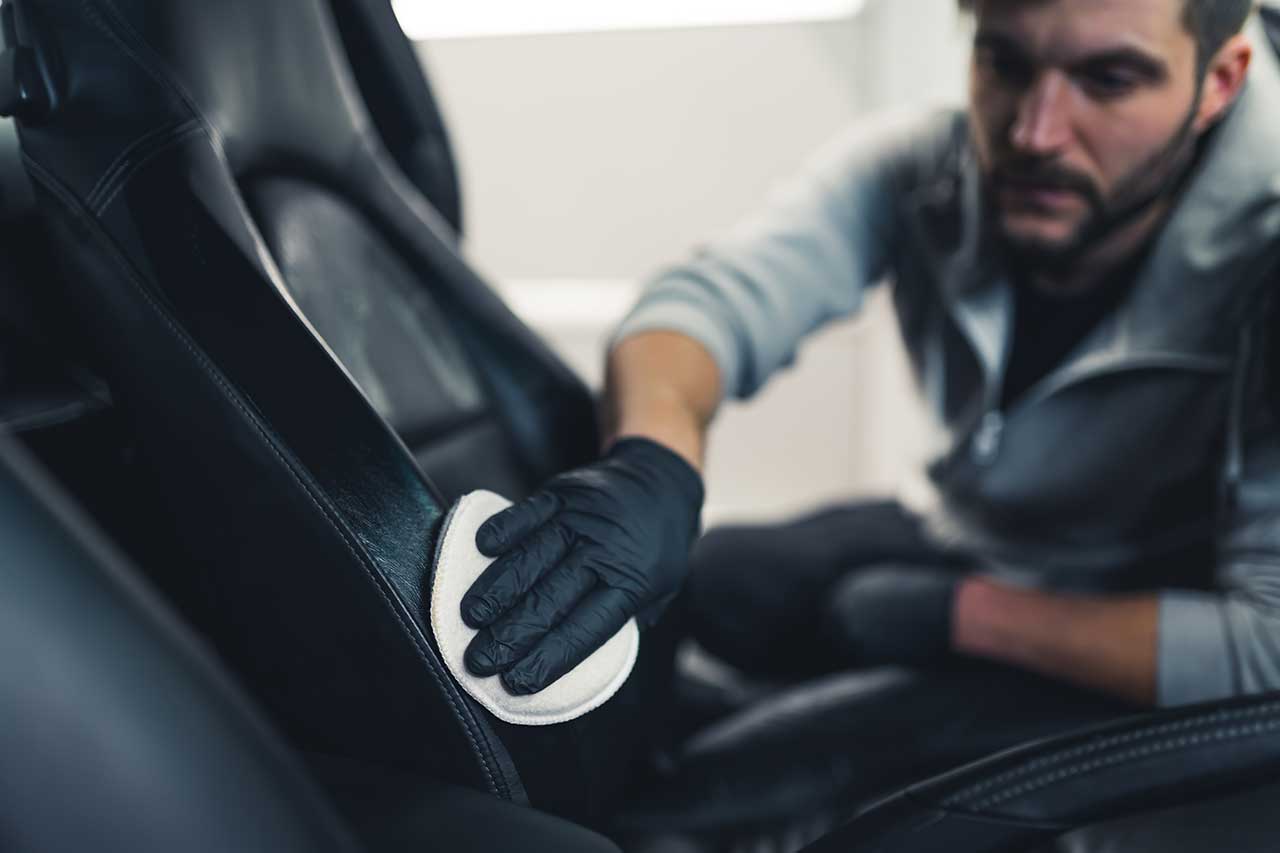
Conditioning After Cleaning
Conditioner helps genuine leather stay supple by replenishing oils that decline through heat, age, cleaning, and dry cabin air. It will not close a crack or rebuild a damaged coating.
After cleaning, wait until the seat feels fully dry. Add a small amount of conditioner to a clean microfiber cloth, then spread a thin, even layer over the surface. Let it absorb for several minutes. Buff away excess with a dry cloth because sticky residue attracts dust.
Daily drivers in Canada usually need conditioning every three to six months. Vehicles used less often may only need yearly treatment.
Protecting Leather In Canadian Weather
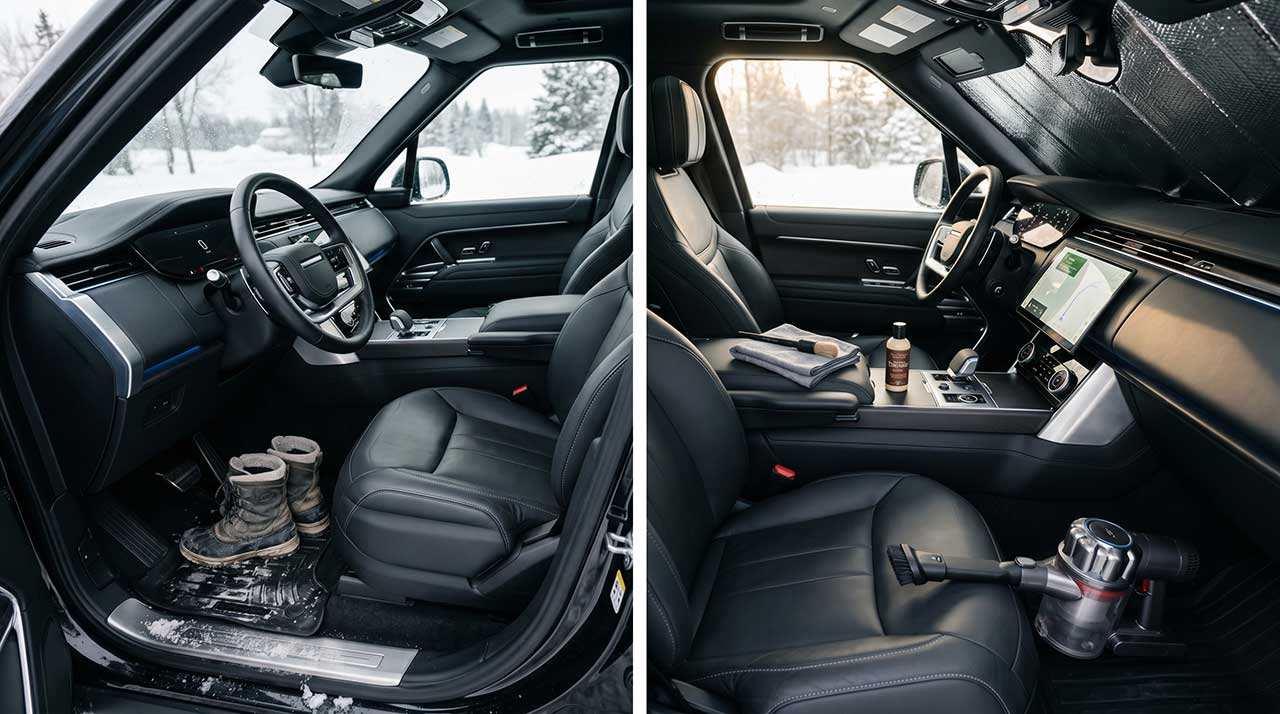
Winter and summer both affect leather. Vehicle heaters pull moisture from cabin air, which can make leather stiff. Snow and salt enter clothing and boots. In summer, sunlight heats the cabin and increases UV exposure, fading pigments and weakening coatings.
Keep the routine simple.
- Vacuum weekly with a soft brush attachment.
- Wipe the seats monthly with a barely damp microfiber cloth.
- Use a windshield shade when parking in direct sun.
- Clean salt marks as soon as they appear.
- Remove damp items from the cabin.
Moisture control is especially important during winter, when snow melts inside the cabin and later condenses on cold surfaces. If a vehicle sits unused while damp, mould risk increases. Good ventilation, dry mats, and prompt cleanup help keep leather safer through cold months.
Final Leather Seat Cleaning Checklist
Start with a material test. Vacuum thoroughly. Use a pH-balanced leather seat cleaner for cars. Keep cloths damp, never wet. Rinse residue with a clean cloth, dry the surface, and condition genuine leather only after cleaning. Treat winter salt with diluted vinegar, manage cabin moisture, and protect seats from the sun when possible.
Clean seats are easier to maintain when care becomes routine. A few minutes each month can prevent grit, salt, and body oils from settling into the finish.
Need professional leather seat care? Get a quote from Love Your Leather today.
References
- Health Canada. “Guide to Addressing Moisture and Mould Indoors.” Canada.ca, 9 Apr. 2020, www.canada.ca/en/health-canada/services/publications/healthy-living/addressing-moisture-mould-your-home.html.
- Canadian Conservation Institute. “Removing Mould From Leather – Canadian Conservation Institute (CCI) Notes 8/1.” Canada.ca, 18 Feb. 2020, www.canada.ca/en/conservation-institute/services/conservation-preservation-publications/canadian-conservation-institute-notes/removing-mould-leather.html.