Summertime is just around the corner which means time to put away all your winter clothing and bring out the shorts and t-shirts.
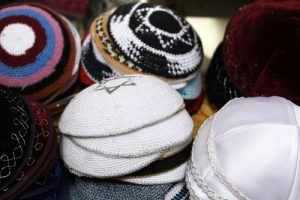
It’s also time to bring out your favorite baseball cap to protect your head from the powerful summer sunshine. If you are like me in anyway, chances are that when you put your hat away at the end of last summer you did so without cleaning it, only to realize now that there is no way you can go out in public wearing your favorite hat in the condition it is in.
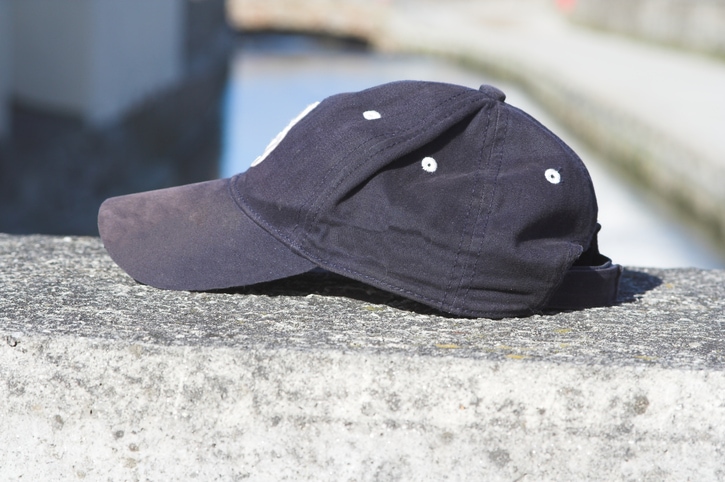
Cleaning a baseball cap may seem trivial, but in fact it is quite difficult to find the best cleaning method that will not only make it look and smell brand new, but will also maintain the hats shape and form. After lots of research, trial and error, I have finally found out what works and what doesn’t and decided to put together a quick guide to help others clean their beloved baseball caps just in time for summer.
Common Hat Cleaning Mistakes
There is a lot of information online available for cleaning hats, however, a lot of it is misleading. Here are some things to watch out for:
The dishwasher myth
A common tip you will find online for washing your baseball cap is to place it on the top rack of your dishwasher and hit start. This won’t work for several reasons including:
- Dishwasher detergents often have bleach in them which will surely ruin most hats
- Dishwashers usually use high heat for washing which will most likely discolor and ruin the shape of your hat
Washing your hat in the laundry
Another common mistake that people make when trying to wash their hat is to place it in the laundry or dryer. Although this may seem like a quick and easy way to wash a hat, chances are that your hat will not look or feel the same once complete. Some reasons for this include:
- The tumbling motion of a washer or dryer will not only ruin the shape of the hat, it can also damage the lid of the hat as well. Even if you put it on the most gentle cycle the shape will most likely be ruined.
- Dryers usually use high heat which, when combined with the tumbling motion, will not be good for the shape of your hat.
Hat Cleaning Tips That Worked For Me
When it comes to cleaning your baseball cap, patience and being gentle are the key. Although using a washing machine or dishwasher may be the most tempting solutions, they will surely ruin your hat. As a result, the best way that I have discovered to wash my hats is to use a good ol hand washing method.
After many attempts (and failures) at washing hats in the past, here are the steps that I took this year that worked wonders and gave me a hat that not only felt and smelled brand new, also maintained the same shape that I wanted the hat to have.
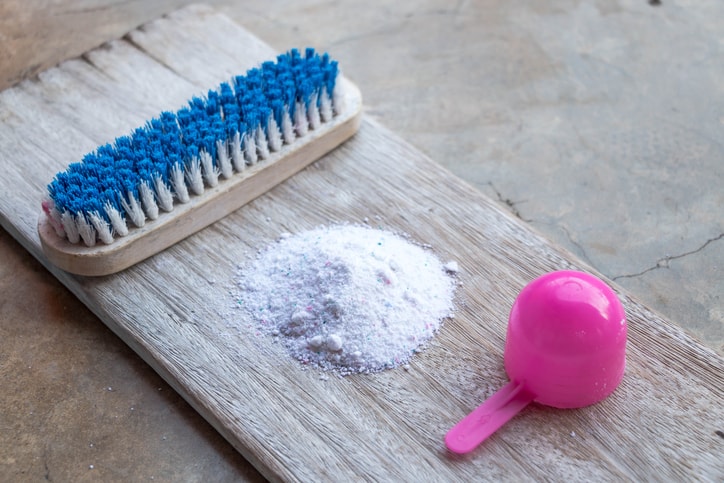
Things you will need:
- A small tub or small sink (big enough to completely fit your hat inside)
- A gentle bleach-free detergent
- An old toothbrush or other scrubbing device
- Cold water
- A clean and dry towel
- A hard object that is a similar size and shape to the hat, such as a small bowl
- A fan or a blow dryer with cool air function
Step 1: Fill a small tub or sink with cold water and detergent
Using a small tub or sink, fill it up with cool water and a detergent of your choice. When choosing a detergent use one that does not have bleach in it and is good at fighting stains. You want to have enough water in the tub to completely cover the hat and add approximately 1 tablespoon of detergent.
Step 2: Spot clean tough stains
Before putting the hat inside of the tub, look for any noticeable stains on the hat and spot clean them by directly rubbing your chosen cleaning product onto the stains. This is most effective if you put water on these stains first and then use an old toothbrush or other scrubber to gently rub the detergent directly into the stain.
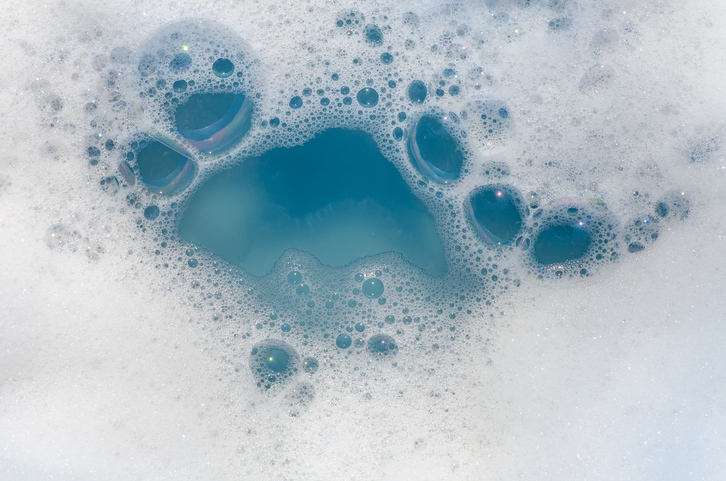
Step 3: Let the hat soak for at least an hour
Once all obvious stains have been spot cleaned, it is time to place your hat in the tub filled with cold water and detergent. Gently massage the hat with your fingers to work the water and detergent into the hats fibers and then let it sit in the tub for one to two hours.
Before removing your hat from the tub, use your scrubbing device to once again scrub down parts of the hat that had tough stains in them.
Step 4: Remove from the tub and rinse the hat
After an hour or two in the soapy tub, remove the hat and rinse off any excess soapy water using cool water from your sink. Once you feel comfortable that all detergent has been removed from the hat you can move onto the final step of drying the hat.
Step 5: Drying your hat
Doing this step right is by far the most important for ensuring that the shape of your hat is maintained.
Start off by using a clean and dry towel to gently pat down the hat in order to remove any excess water.
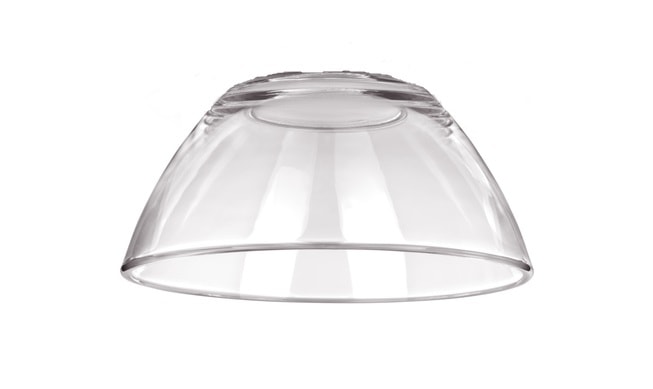
Once all excess water is removed, place any object that closely resembles the shape of the hat into the hat itself, using a towel to separate the hat and the object so that any water that drips is captured by the towel. A small bowl can work here, but what is really important it to find an object that is as similar as the shape of the original hat as possible to maintain the hats shape.
Leave the hat on this object with the opening of the hat facing downward for several hours to let it air dry. For quicker results, place the hat in front of a fan or use the cool air function of a blow dryer.